Monday, December 12, 2011

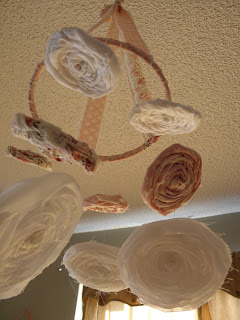
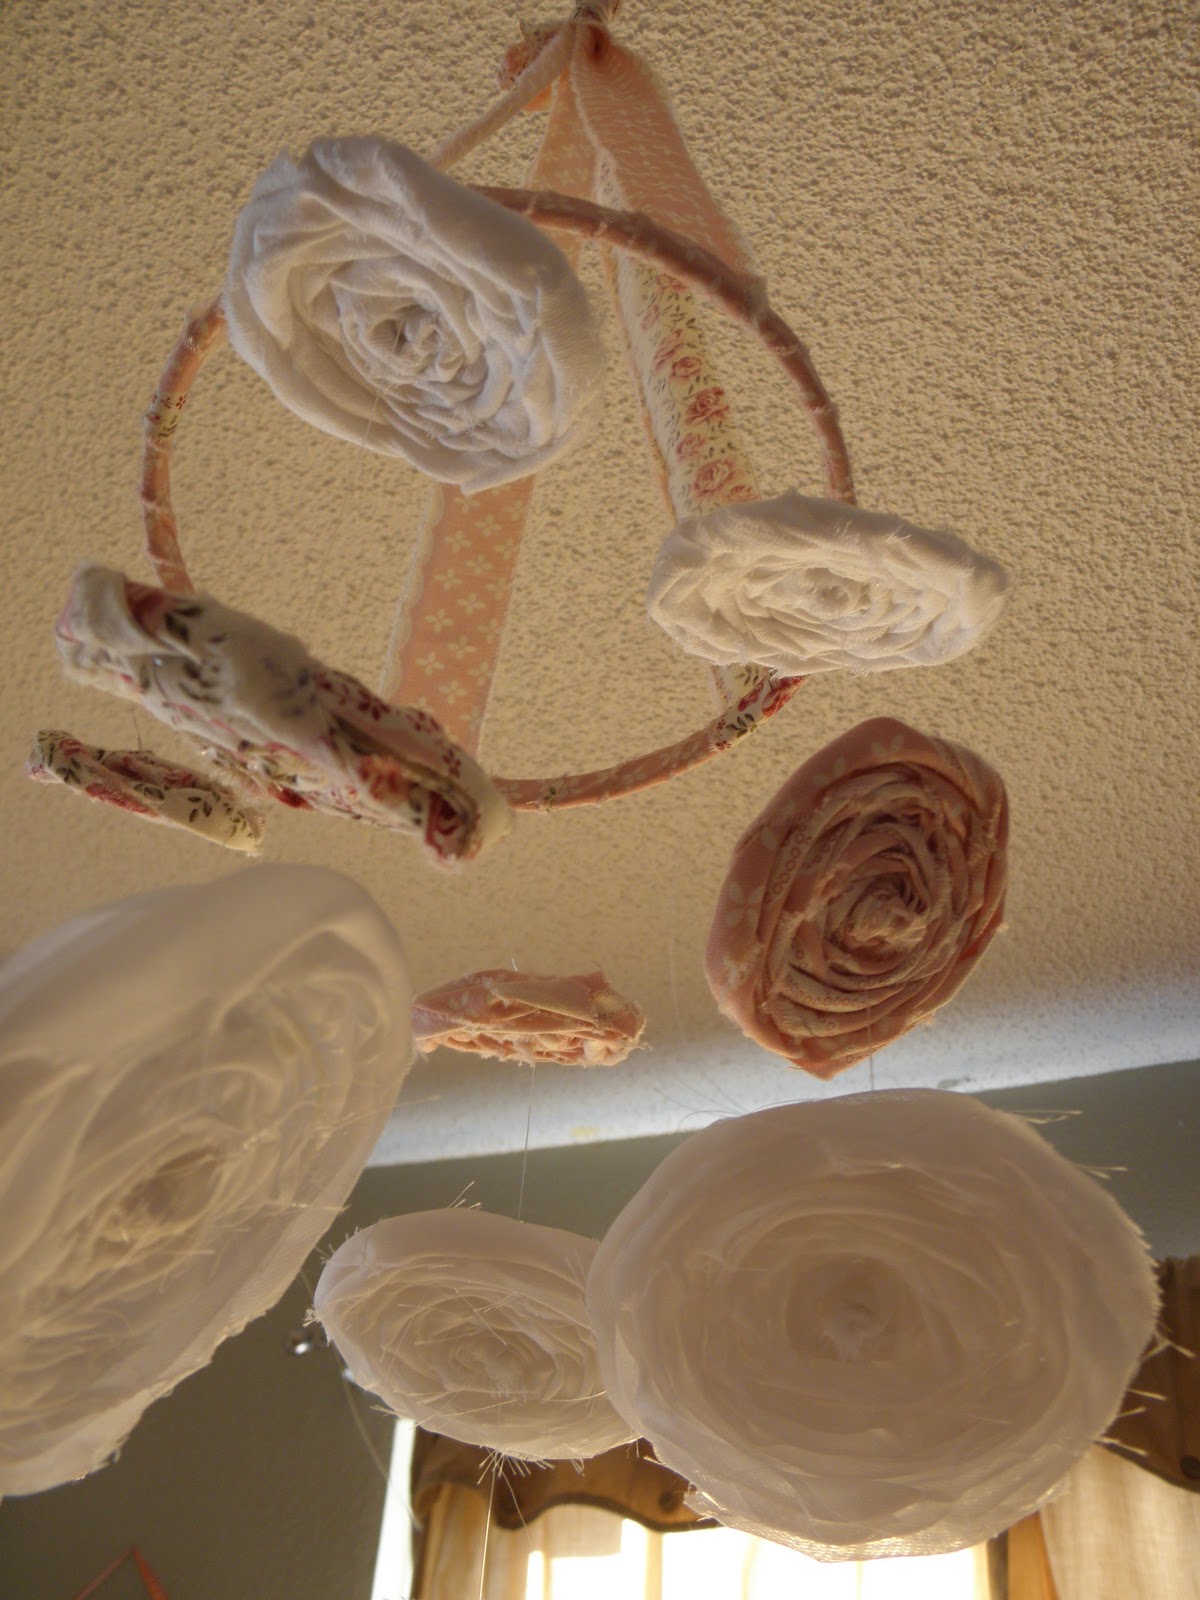
Cutest Mobile EVER!

Well, we all know I have been on a crazy rosette making, rope gluing, ruffle adding spree lately... and trust me this post will not disappoint!    I just need one of my friends to have a little girl so I can give it to them!  (all of my friends are popping out boys lately).

If you want to know how I do the rosettes you can see my tutorial here.  I started by making 14 in a pretty white and pink combo.


Next, I wrapped a crochet circle (you can find them at any thrift store if you look hard enough or at a craft store) in the same pink fabric.  I just used a 2 inch thick piece of fabric about 3 feet long and attached it at the ends with hot glue.


Then, I used some jewelry line (I would have used fishing line if I could have found any in my hubby's fishing stuff) to string the rosettes.  


Just pull the line through the center of the rosette and pull it to the place you want it on the line and then tie a knot so it doesn't slide back down. You can also string it through the rosette the same way you would sew a button if you want it to be more secure. Then repeat until you have 3 or 4 rosettes evenly spaced along the line.  It's ok if the rosette tilts a bit, the look really cute off kilter like that.


I made 4 strings, 2 with three rosettes on them, and 2 with 4.  I did the colors randomly throughout so it would look more dynamic.  Then you just tie the strings evenly around your crochet circle.

Next, I cut 4 strips of fabric about 2 inches wide and 2 feet long.  I tied them evenly around the crochet loop and then gathered them together so that the circle hung evenly and tied them all in a knot about halfway up the fabric.


Next I used a key ring and looped the ends of the fabric through and then tied another knot just above the first knot.  This way you have something to hang it on:) 


And there you have it :)  Now to find a little girl who needs one!


Hope you have a happy day!


Friday, December 9, 2011

A Home For My Earrings

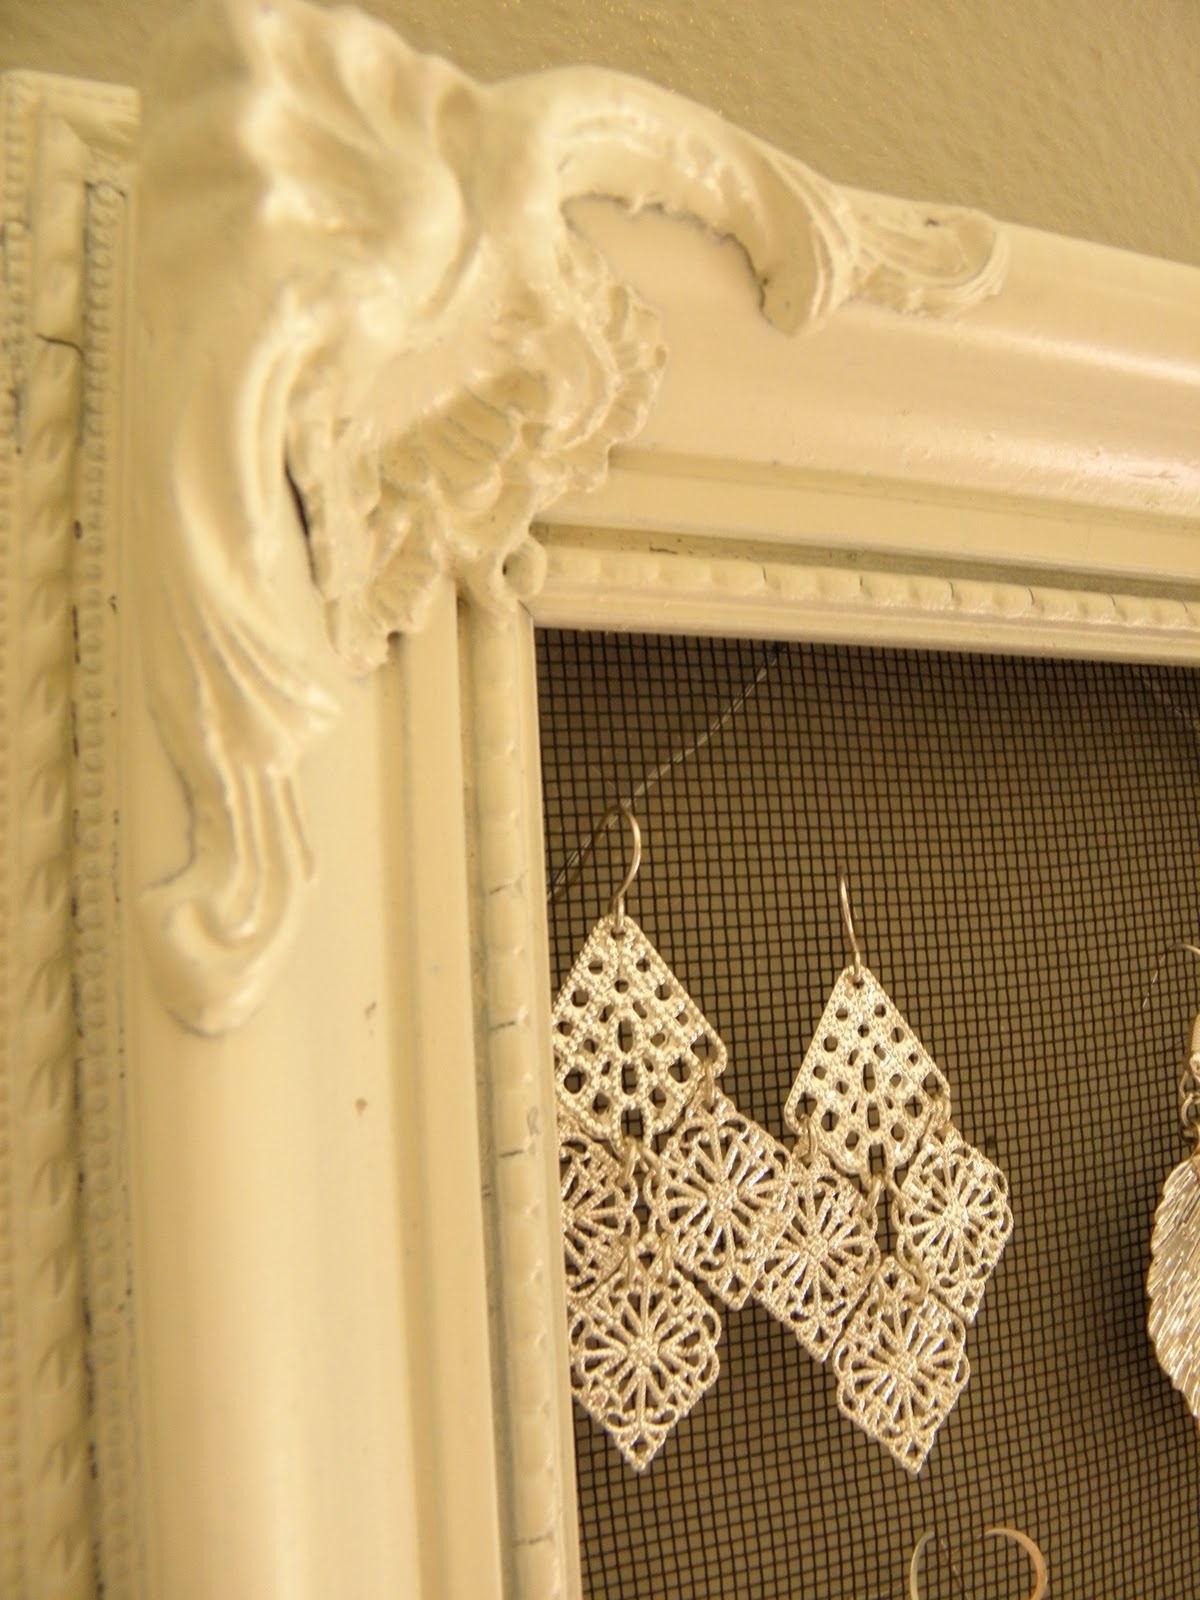
I have been seeing these around town, and in blogland a bit so i thought I would share with you all, this very simple, totally cute solution to your earring storage needs!  Here it is... are you ready for how easy this really is???

Old frame + screen = awesomeness!


I found this cool little frame and screen at the Goodwill for under 2 dollars.  Cut the screen to the size of the opening, and stapled it to the back of the frame.  And here you have it:


So simple and so pretty!


Wednesday, December 7, 2011

Give Us This Day Our Daily Bread

My kitchen table transformation is complete.  I found this sweet little kitchen table at a thrift store in Boulder.  It had such a cute shape and a very good size, and I knew it was not reaching its full potential. 

On a side note, as you can see from the picture, I do most of my painting outside.  Well, one of the kids from our neighborhood was walking by when I was painting this table and asked, "Whatcha doin?"  So I said, "Painting my kitchen table."  He replied in a very condescending voice, "That's your kitchen table... it's small."  Then he just walked off.  Hahaha well, little boy down the street... this isn't Texas, and bigger isn't always better ya know! 

So anyway, back to my small kitchen table.


I have talked about wanting an aqua kitchen table for some time now.  Kyle always disagreed but this time I decided to just do it anyway... sorry babe.  And I am SO glad I did!

I sanded, primed, and sprayed until it was a beautiful glossy aqua.  Then, it was time to add some pizazz... (that word makes me want pizza.)  I stenciled around the outside "give us this day our daily bread."


When the stenciling was complete I realized there was still something missing.  I, (and by that I mean my hubby) screwed a lazy susan to the center and the transformation was complete! Luci helped too.


So there ya have it, my aqua table with a little pizazz!


Hope you all have a happy day!


Mercantile Muse


Keeping It Simple

Monday, December 5, 2011

Check out these Balls

Get your head out of the gutter, I mean Christmas Balls!  Warning:  I am going to use the word "balls" a lot during this post, and yes, I giggled like a 12 year old every time...hehe.

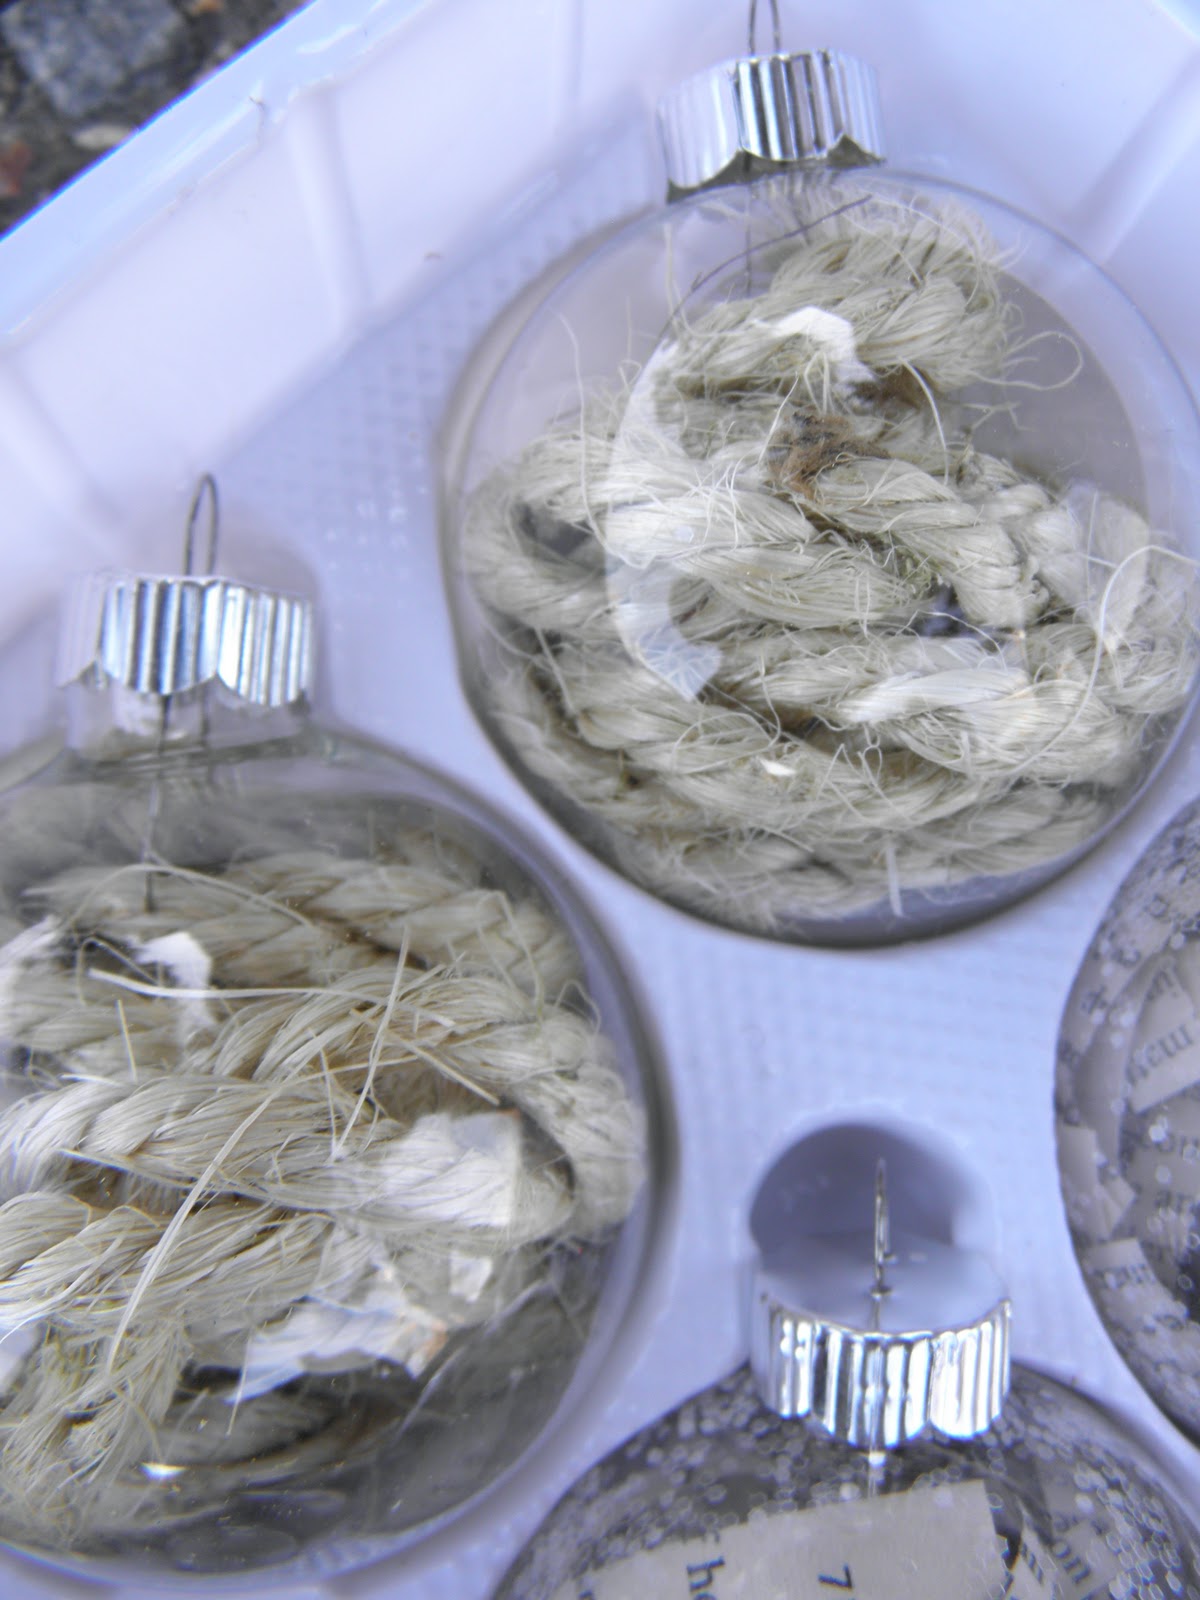
I got a package of 12 Christmas balls from Hobby Lobby (half off of course) for $4... SCORE!  Here's what I did:

 I filled some with rope, I am loving rope projects lately, the texture is just so pretty.


I filled some with twine (so easy and pretty).


Then I filled the rest with ripped up book pages and glitter!  Don't hate me for defacing a book.  We all have that crappy book laying around that we are never going to read.  You know, with Fabio on the cover or something ridiculous. I didn't rip up the Bible or anything, sheesh :)  I have seen it done with sheet music s as well, but I didn't have any sheet music (at least not any I wanted to rip up) and I did have a crappy book.


Christmas is in full force at our house!  I even got all the presents I ordered online already!!!  Just have to wrap them and display them under our tree:)


P.S.  You can see my reflection in the silver balls haha.


Friday, December 2, 2011

Whatever Blows Your Skirt Up

In celebration of the Christmas Season, and the fact that it is December (OMG how is it already December??), I decided I would make the world's most fantastic Christmas tree skirt. (OK, so maybe it isn't the world's most fantastic, but I think it pretty much rocks.)

I have been an avid follower of Miss Mustard Seed for some time now. If you have not read her blog you should start. She is basically who I want to be creatively (a combo of her and Mandi from Vintage Revivals ). She is me, 10 years from now... although, I am pretty sure she isn't 10 years older then me so, hopefully she is me 5 years from now! I can always play catch up:)

ANY WHO, she made this amazing tutorial on this skirt.  I won't even try to explain because her tutorial was perfect so if you are interested in making it just check it out here.  She also writes for HGTV.com (the girl is amazing) as you can see from that link.

Well, the tutorial was perfect and I was able to pull it off.  What do you guys think?


I seriously couldn't be happier with how it turned out!

P.S.  How cute is Luci playing in the snow!  She calls it "No".  SO CUTE!


Wednesday, November 30, 2011

Ruffled Love

I have been doing a lot with ruffles lately.  It's kind of like when I got on a rosette obsession, only now everything I own has ruffles AND rosettes!  I think the hubs is starting to worry that our house is turning a bit too girly for his manly taste.  I say... it looks pretty:)  Anyway, my first ruffle project I sort of cheated.  I didn't actually make the ruffles but I still think it turned out SOOO fantastic!

I took this adorable shabby lamp that I found at the Goodwill and made it even better.  I loved the chippy blue paint but the shade was just so plain.  All I did was buy 3 yards of ruffles (you can find it in the fabric/ribbon section of any craft store) and started wrapping.  The greatest part is, when you buy the pre-made ruffles, although they are more expensive, the edges are all finished so you don't have to take the time to sew them all.  It was a HUGE time saver!

Check out how pretty my shabby chic (or as the hubs would say, raggy shaggy) lamp turned out:


Hope you are all having a wonderful holiday season!


Monday, November 28, 2011

Dear Martha... You Did It Again

I just wanted to take a moment to share with you my new found love...Martha.  Ok, I have always loved Martha (she is sort of a guilty pleasure) but I stumbled across her new paint at Home Depot and fell in love all over again.  I tried the metallic paint and it turned out SO cute.  She also makes crackle paint that I am going to try next.  I know it will be just as fantastic, Martha never disappoints! 

Check it out:


Cheers!